How to build a wooden gate fence the right way
How to build a wooden gate fence is one of the most rewarding DIY projects you can take on if you want to improve privacy, security and curb appeal. It allows you to create a natural, custom entryway that enhances your home’s character and defines boundaries clearly.
Wood is a popular choice because it’s easy to work with, looks great in nearly any environment and provides excellent customization. Whether you want to enclose a garden, build a private backyard or just create an attractive entrance, this guide will walk you through every step.
We’ll cover how to prepare the site, choose the right materials, and provide clear instructions for installing fence sections and a functional wooden gate. You’ll also find important maintenance tips and common mistakes to avoid.
Planning before you start
Understand the purpose of the fence
Before learning how to build a wooden gate fence, think about why you need it. Are you trying to keep pets in, improve security, or simply enhance the look of your yard? Your purpose will influence the height, style and design of the fence and gate.
If your main concern is privacy, then you’ll want a fence for privacy that blocks the view from neighbors. Start by measuring your space carefully. Mark your layout with string and stakes so you can visualize where the posts and gate will go.
Check regulations and utilities
Visit your local city or county office to confirm whether permits are needed. Many municipalities have height or location restrictions on fences. Also, contact utility companies so they can mark underground lines. This prevents damage when digging for post holes.
Materials and tools you will need
Essential materials
- pressure treated lumber or cedar
- concrete mix
- galvanized nails and screws
- hinges and a latch
- wooden fence boards or prefabricated panels
- gravel for drainage
- outdoor sealant or paint
Choosing durable materials is critical when learning how to build a fence that will last for years. Low quality wood will rot or warp much faster.
Recommended tools
- Post hole digger
- Measuring tape
- Level and square
- Circular saw
- Drill and screwdriver
- Clamps
- Safety goggles and gloves
Step by step guide to building your wooden gate fence
Step 1 set the posts
The first and most important step for installing fence sections is to set solid posts. Use your post hole digger to dig holes at least 30 inches deep and 10 inches wide. Pour gravel at the bottom for drainage.
Insert your posts into the holes and use a level to make sure they are straight. Pour fast setting concrete around each post. Let it cure for at least 24 hours. Solid posts provide the foundation for both your fence and your gate.
Step 2 build the gate frame
Measure the distance between the two gate posts and subtract an inch, so the gate can swing freely. Cut 2×4 lumber to size and screw together a rectangle. Add a diagonal brace from one bottom corner to the opposite top corner.
Clamp the frame in place while securing it. If you want to master how to build a wooden gate fence, building a strong frame is one of the most crucial parts.
Step 3 attach the boards or panels
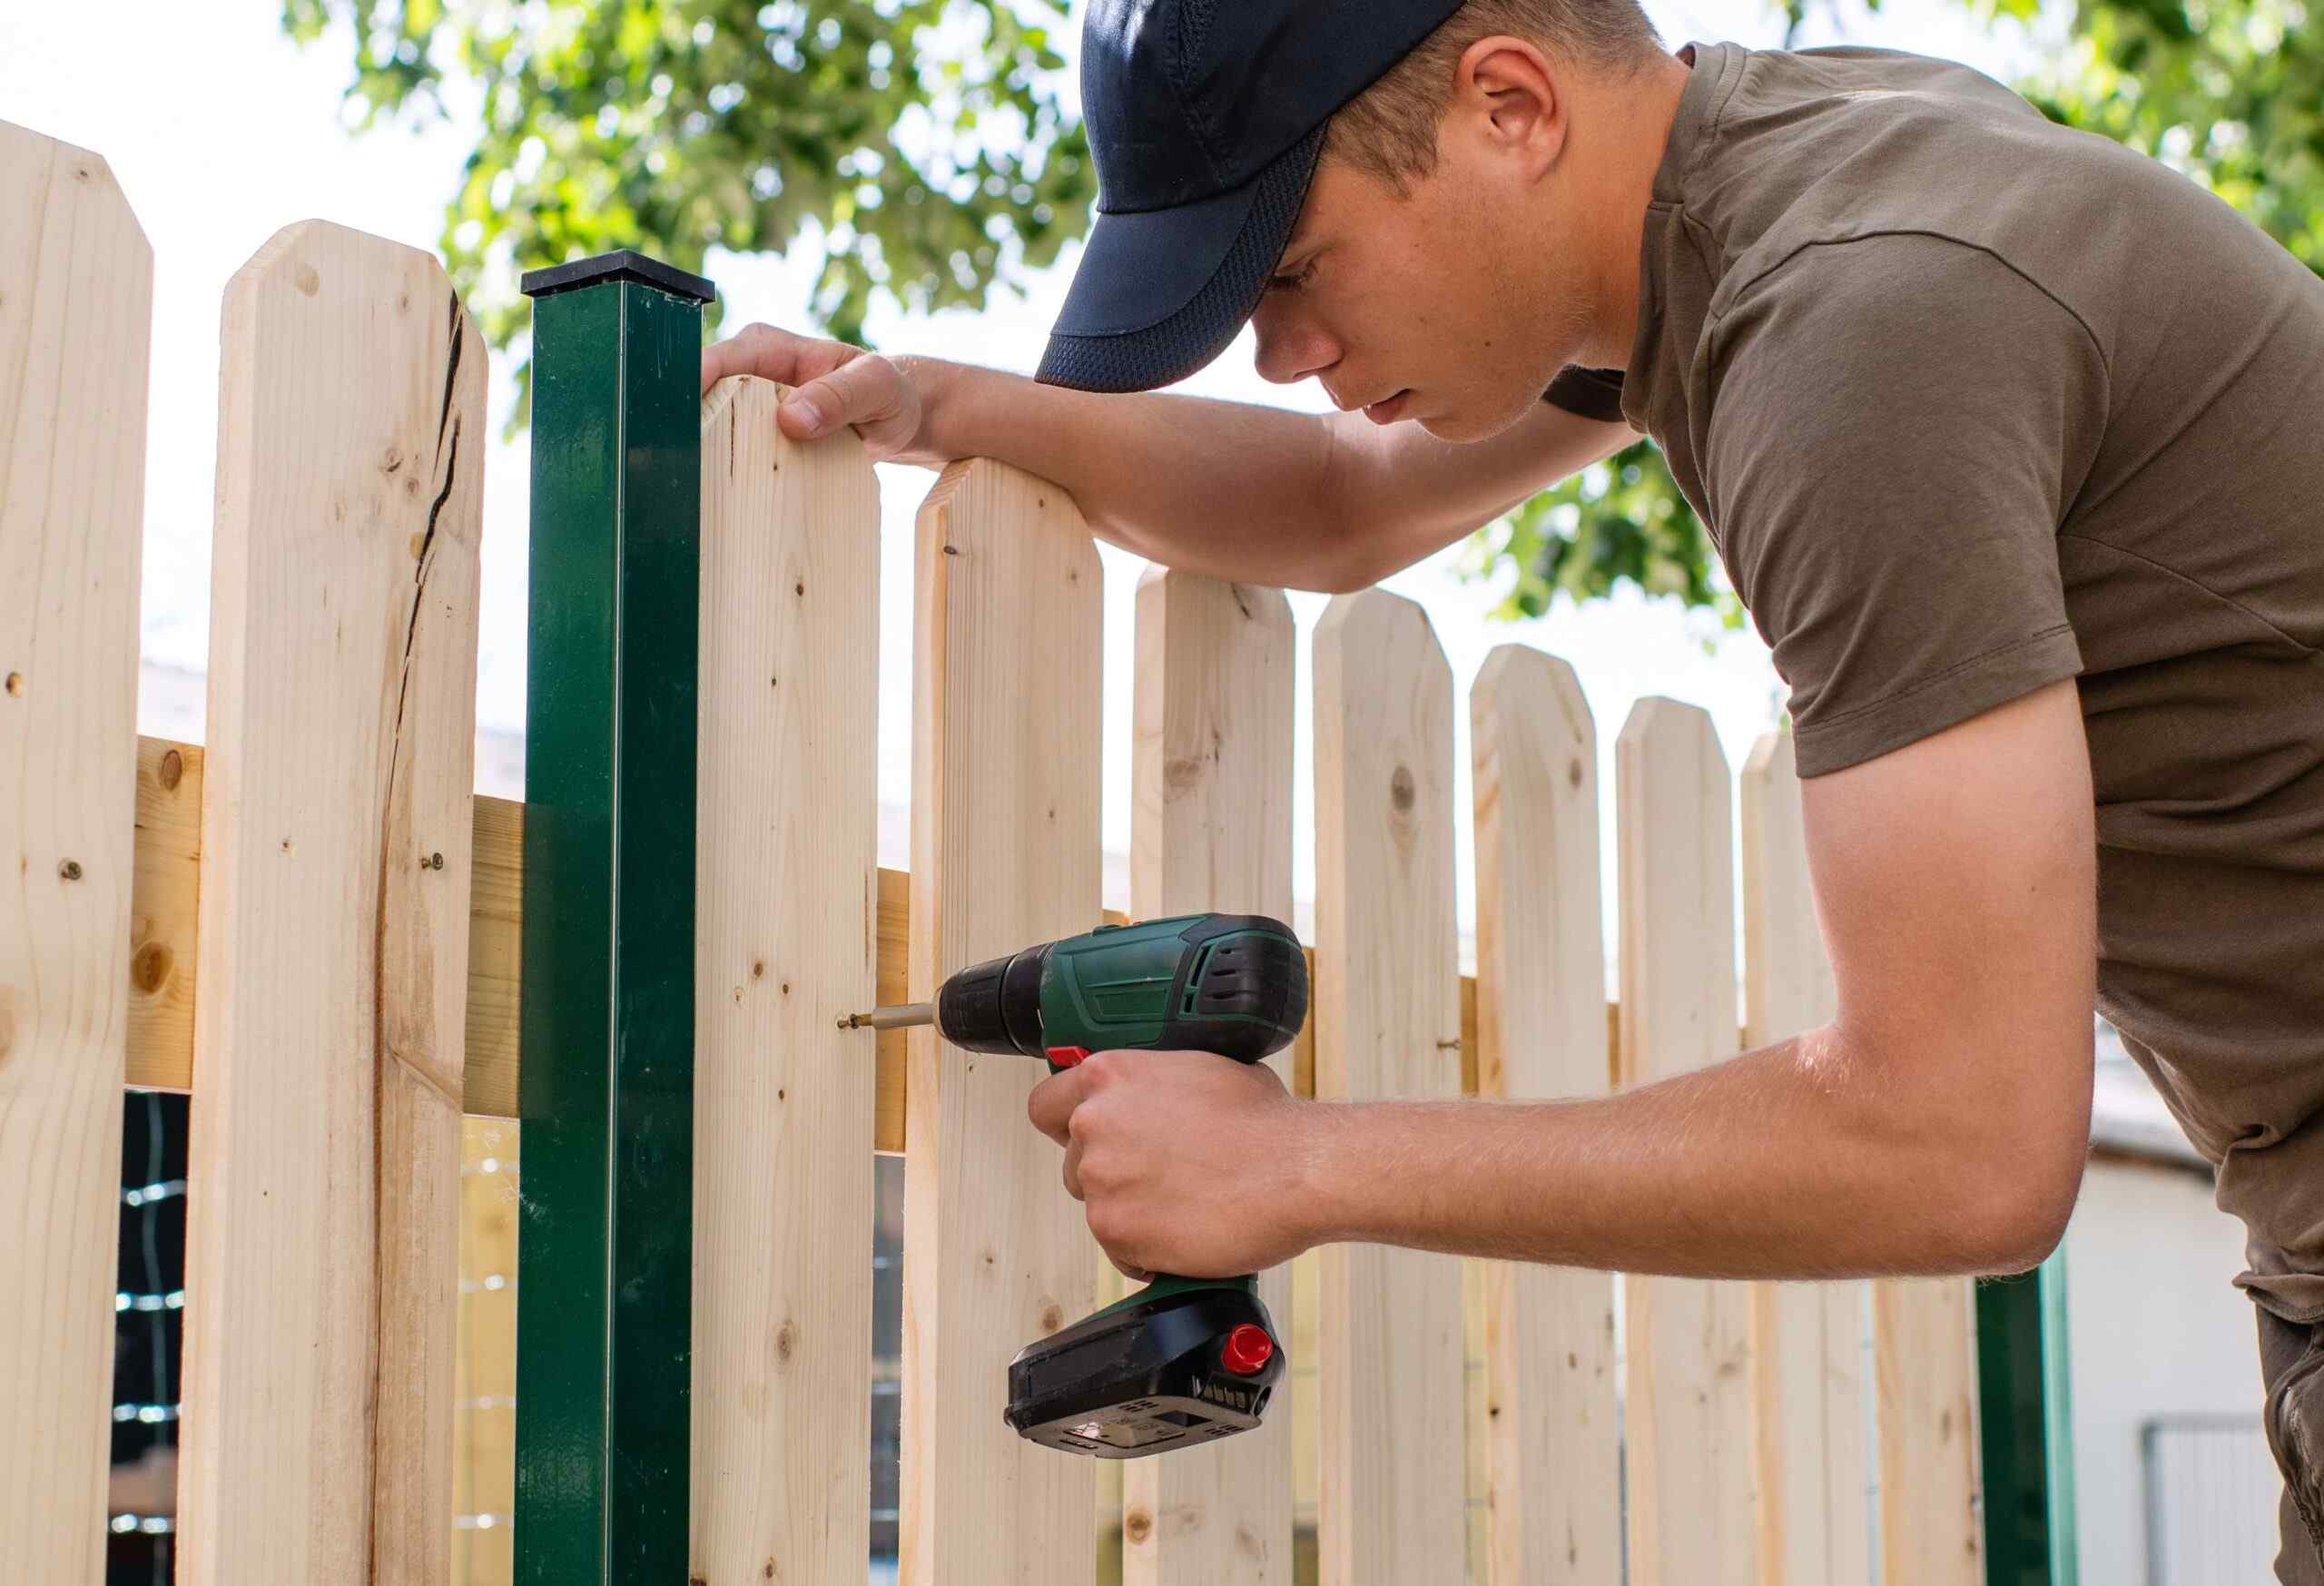
With the posts and gate frame installed, you can now attach your fence boards. Place them vertically, leaving a slight gap between boards to allow for wood expansion. Use galvanized screws or nails for durability.
If you’re using prebuilt panels, follow the manufacturer’s instructions to ensure proper installation. A well-installed fence for privacy should be aligned, level and secure.
Step 4 install the gate
Position the gate between the posts and attach the hinges to the frame. Then screw the hinges into the post. Make sure the gate swings easily and doesn’t scrape the ground.
Attach your latch or lock. Test everything before moving on. Hanging the gate correctly is essential for the overall success of installing fence systems.

Finishing touches and protection
Apply sealant or paint
To protect your fence and gate from rain, sunlight and pests, use an exterior sealant, paint or stain. Apply two coats and make sure to cover edges and corners. This helps prevent rotting, warping and fading.
Choose a color that matches your home’s style or garden. The finish will not only preserve the wood but also improve the overall look.
Adjust the gate if needed
After a few days, check that the gate still swings correctly. If it sags or misaligns, use a turnbuckle or tighten the screws on your hinges. Regular minor adjustments prevent long term structural issues.
Maintenance tips for long lasting results
Inspect your fence often
Every few months, walk along your fence and look for signs of damage. Check for cracks, rot, loose screws or insect activity. Replace boards or parts as needed. Staying ahead of repairs is easier than rebuilding later.
Clean your fence annually
Wash your wooden fence once a year with soap and water or a low pressure washer. Remove dirt, mildew and pollen to maintain its appearance and prevent long term decay.
Mistakes to avoid
- Setting posts too shallow
- Skipping gravel at the base
- Using untreated wood
- Not sealing or painting the wood
- Failing to align gate hardware
Avoiding these mistakes will make your experience learning how to build a wooden gate fence much smoother and give you better results.
Fence design options
If your goal is to create, you can try these styles:
- Classic vertical boards with no gaps
- Horizontal slats for a modern look
- Decorative lattice top for partial privacy
Choose a design that fits your home and landscape. Good planning makes any style look professional and attractive.
Benefits of learning the process yourself
Understanding how to build a wooden gate fence allows you to appreciate what goes into a strong and secure installation. Even if you decide not to take on the project solo, having this knowledge helps you make informed decisions when choosing a fencing service.
Many homeowners start researching to do it themselves and realize how valuable expert support can be. That’s where experienced companies like Fence Pro come in. With the right tools, professional-grade materials and years of experience, they ensure your fence for privacy is not only beautiful but built to last.
Whether you’re doing it for the satisfaction or to better evaluate your contractor’s work, knowing the process gives you an edge. And if you need help or prefer a flawless result from day one, you can count on Fence Pro for reliable solutions tailored to your home.
Best wood types for a wooden gate fence
Cedar is naturally resistant to insects and rot. It has a warm tone and is easy to work with. Pressure treated pine is a more affordable option that performs well outdoors when sealed correctly.
Avoid softwoods that soak up moisture or are prone to warping. If you want to be confident about that lasts, start by choosing the right wood.
Extras to improve privacy and safety
To enhance your fence for privacy, consider adding tall shrubs, vines or privacy screens. You can also add solar lights or smart locks for extra security and visibility at night.
These small upgrades make a big difference in function and appearance.
Why you should learn this skill
Knowing how to build a wooden gate fence means more than saving money. It gives you confidence, problem solving skills and a deep sense of accomplishment.
Plus, once you build one, you can improve or expand your project anytime. Whether you want more fencing, a garden enclosure or even a deck, this knowledge lays the foundation for your future projects.