Retaining your fence might sound complicated, but it’s not that hard if you know roughly what to do. If you have a wooden fence in your backyard that looks old or gray, maybe it’s time to give it a new coat of stain. Learning how to restain a wood fence can make your whole yard look better and help your fence last longer.
Why It’s worth restaining your fence
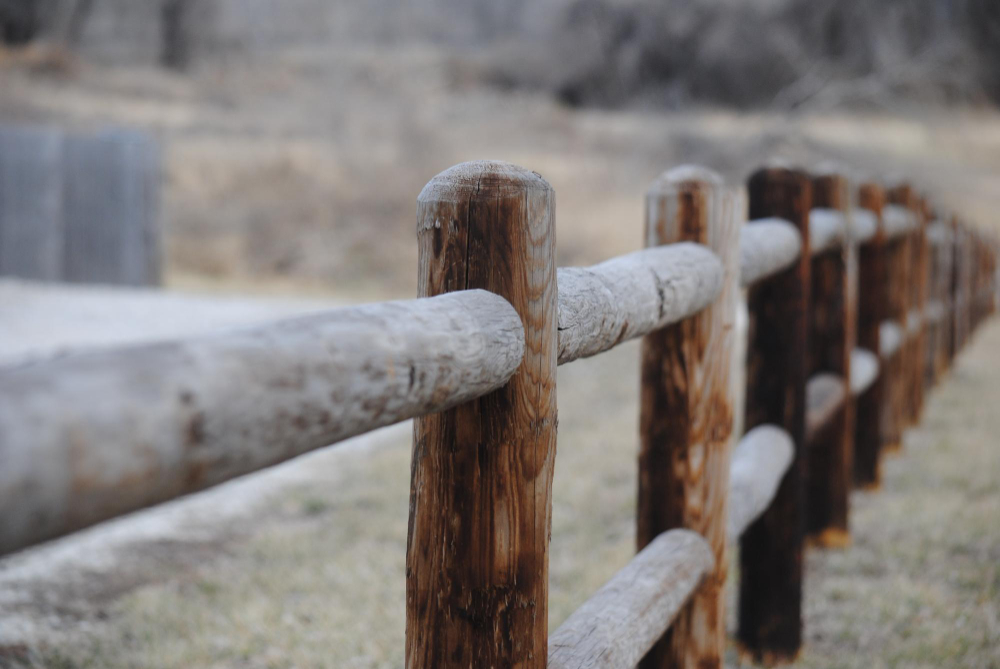
Wood fences suffer from sun, rain, cold, and all kinds of weather. After a while, they look old or dirty. Retaining helps a lot. If you want it to look good and not have to replace it soon, you need to know how to restain a wood fence properly.
What you need to get ready before starting
It’s not just grabbing a brush and going for it. First, you have to clean everything well. Use a hose or a pressure washer if you have one. Remove dirt, green mold, and all that. Then let it dry for one or two days, depending on the weather.

How to choose the right stain for your fence
There are different types. Some let you see the wood grain underneath, others cover more. It depends on how you want it to look and if you have a lot of sun where you live. Picking the best wood fence stain helps it last longer and not peel off.
Tools and materials you’ll need
Before you start, gather everything you’ll use: cleaner, brushes, gloves, stain, plastic to cover nearby stuff, rollers or sprayers if you have them. Having everything ready helps a lot when staining fences.
Why cleaning and drying well is important
Even if it looks clean, wash it anyway. If there’s dirt, bugs, or mold, the stain won’t stick well. After washing, let it dry completely. If the wood is still wet, it will look bad, even if you use the best wood fence stain you found.
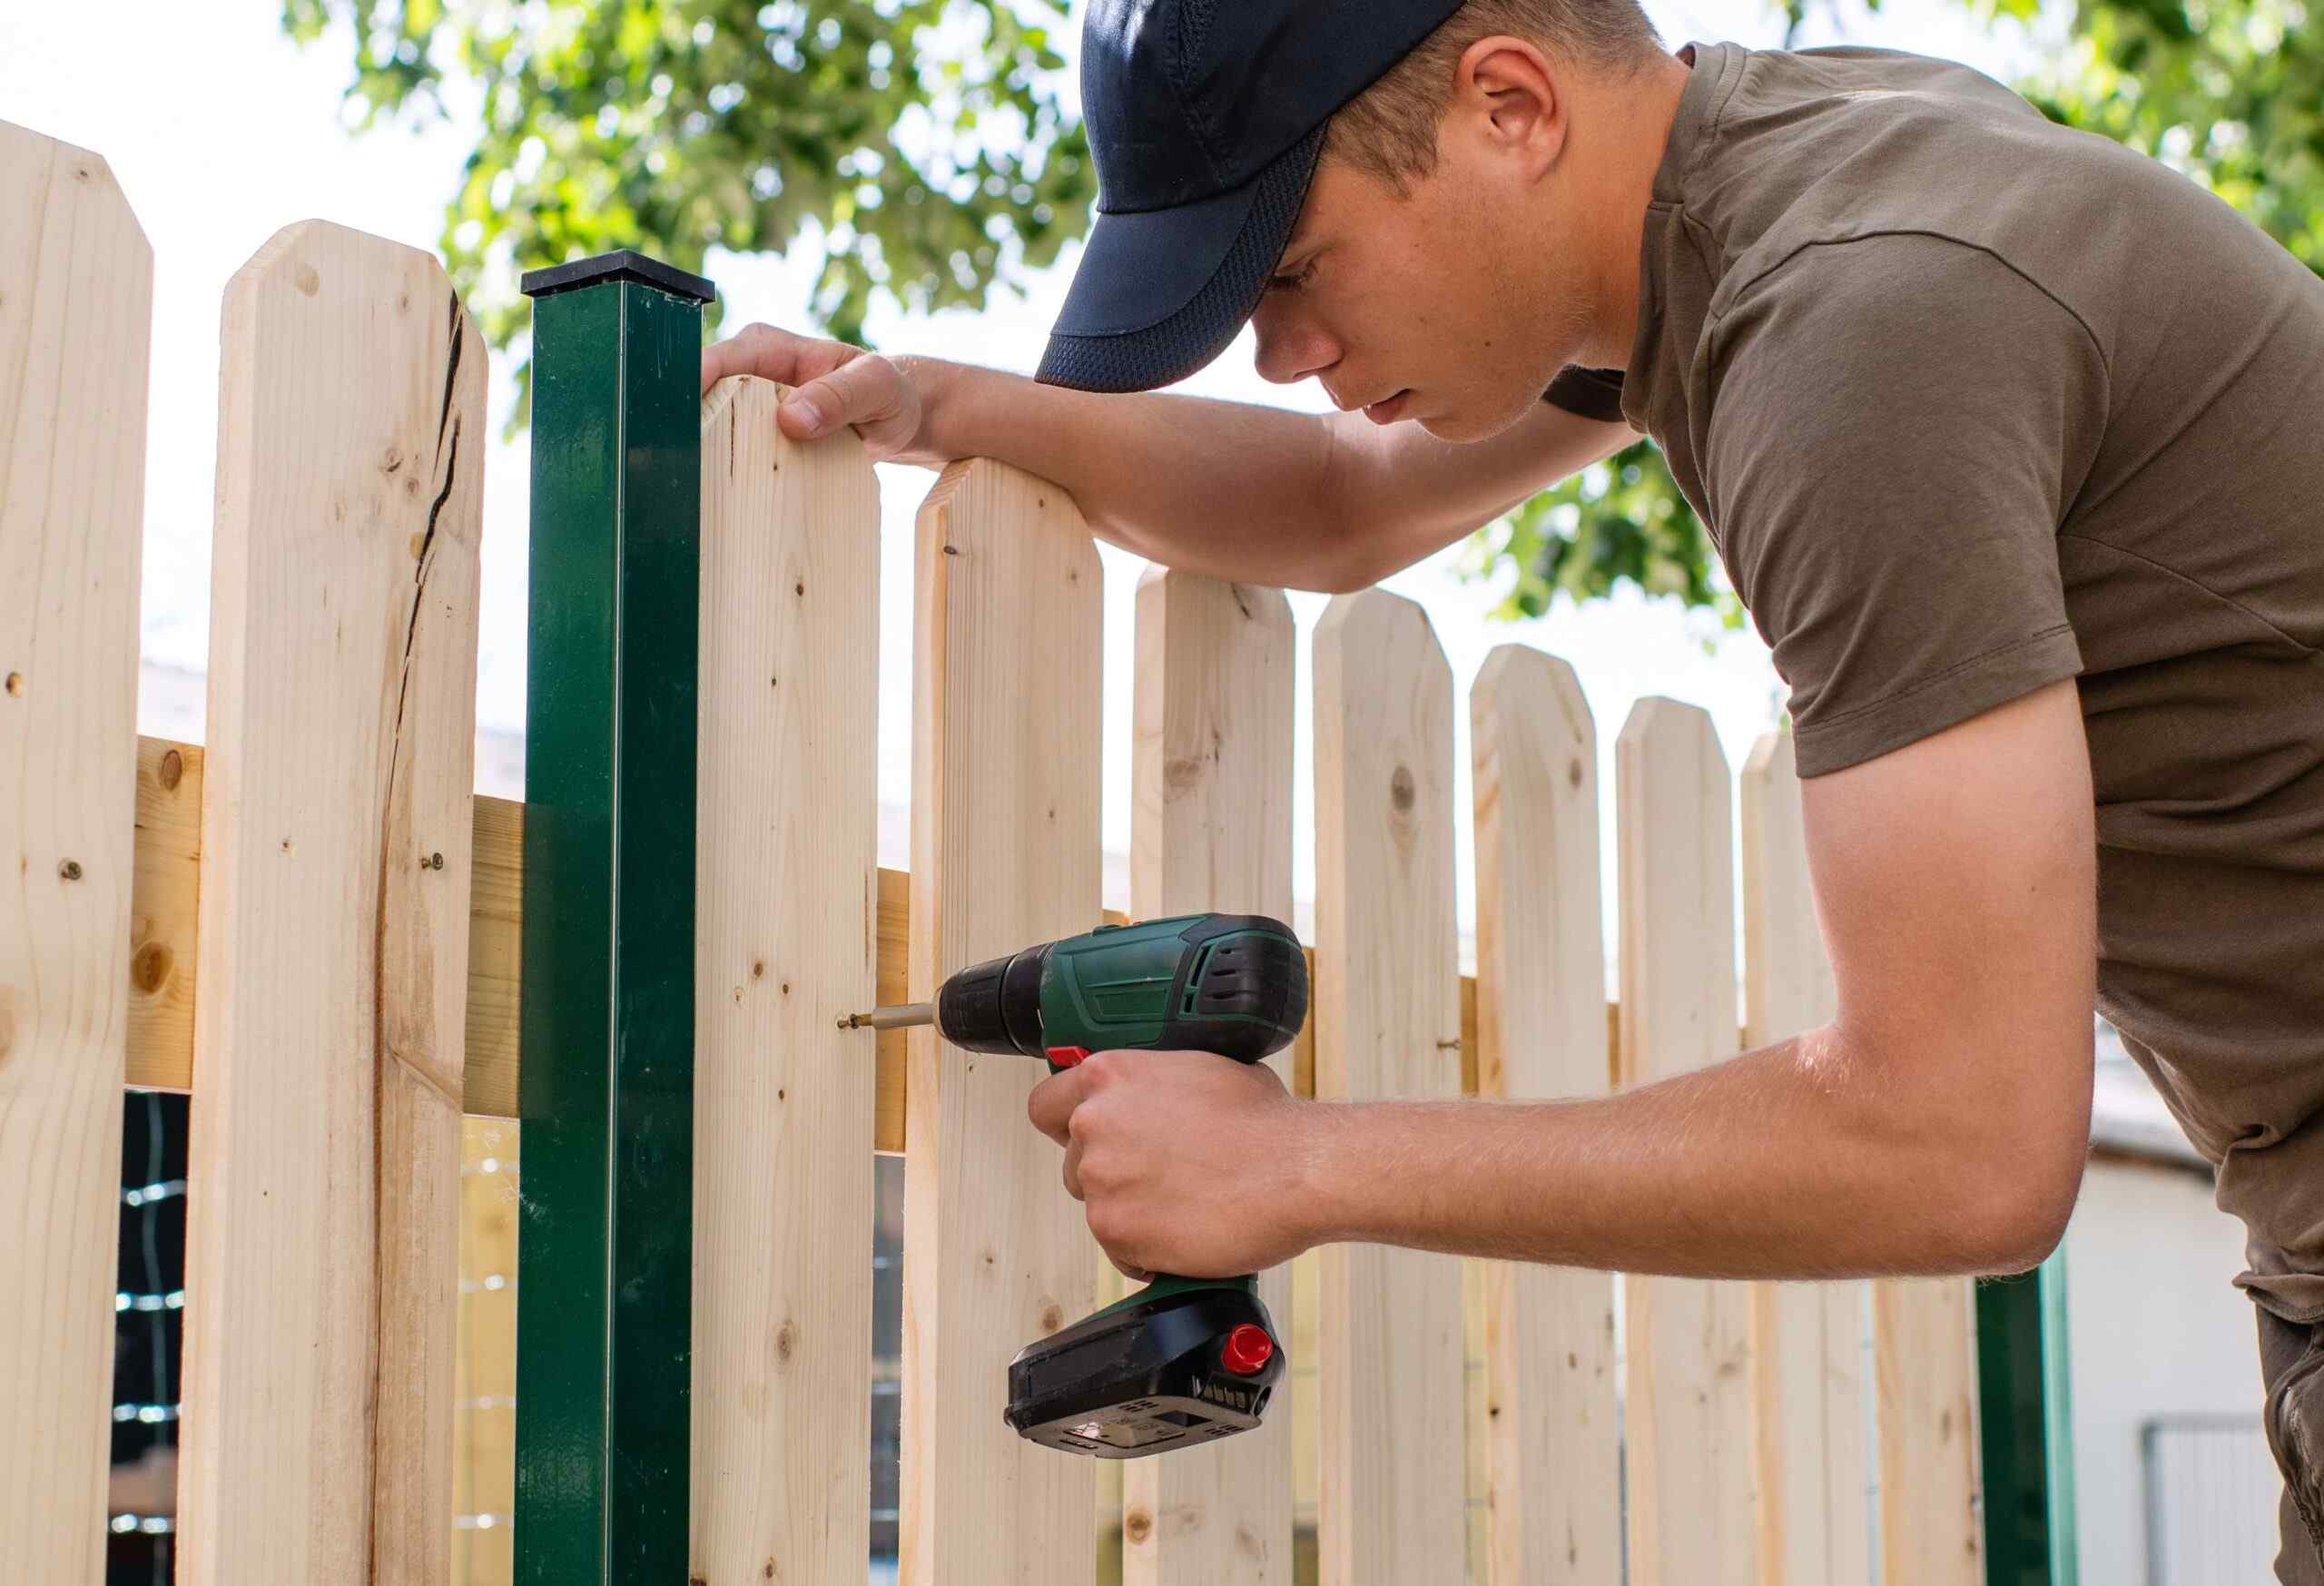
Sanding and fixing what’s broken
This part is a bit hard but worth it. Sand the rough parts and check there are no loose nails. Replace any boards that are rotten or broken. Skipping this can cause problems later.
Step-by-step on how to apply the stain correctly
Step 1: Mix and test a bit
Shake the stain well and test it on a hidden spot. That way, you see how it will look before doing the whole fence.
Step 2: Apply carefully
Use a brush, roller, or sprayer. Work in sections and follow the direction of the wood grain. Don’t rush because it will show.
Step 3: Let it dry
When you finish, let it dry at least one full day. If you see loose spots, you can apply another coat. That’s normal.
Common mistakes to avoid
Many people make mistakes when learning how to restain a wood fence. Don’t do it if the wood is damp because it traps moisture and then peels. Don’t skip cleaning. And don’t put on too much stain because it gets sticky or blotchy.
How to take care of your fence after staining
When you finish, it doesn’t mean it’s done forever. Check it every now and then, and if it gets dirty, sweep it or spray it with a hose. Don’t put plants right next to it because they hold moisture and rot the wood.
When to restain again
It depends on the stain. Light stains last one or two years. Darker ones last three to five. To check if it’s time, do the water test: throw some water on the wood and if it absorbs fast, you need to restain. That’s also part of knowing how to restain a wood fence.
The best time of year to stain your fence
Don’t do it when it’s very hot or the sun is strong. Spring or fall are better, with mild weather and low humidity. If it rains or is windy, the stain can get ruined. This is key when staining fences.
How to pick an environmentally friendly stain
Some stains have strong smells and are harmful. If you can, buy a more natural one. Water-based or low-chemical stains are better. And don’t pour leftover stain on the street or soil. Check where you can dispose of it safely when you buy the best wood fence stain.
Safety tips while working
Wear gloves and maybe a mask if the product is strong. If you sand, wear goggles. It’s not super dangerous, but you have to be careful to do the how to restain a wood fence job safely.

What to do if something goes wrong
If it feels sticky, it might be because there was too much moisture. Sand a bit and let it dry more. If there are ugly stains, put on another thin coat. If mold appears, ventilate better and clean again. Knowing how to fix this is also part of learning how to restain a wood fence.
What you need to know to finish well and be happy with the result
Restaining your fence again isn’t as hard as it seems. You save money, it looks nice, and lasts longer. With some time and the right stuff, you can do it. Just follow these steps and learn how to restain a wood fence well. You don’t need to be an expert.